I was playing around with the new fluid solver in Houdini FX. I came up with a pretty cool jelly animation by adjusting the viscosity settings and collision tolerances.
Here’s the basic setup and settings
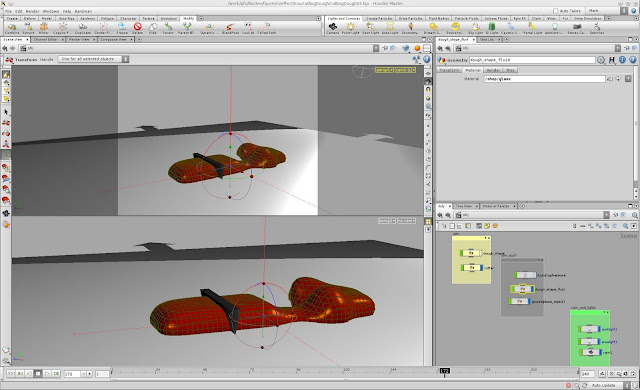
The basic set up
Geo:
basic box shape with a smoothing operation to create the shape
cutter geo – which we’ll reference into the collision object below
Dynamics
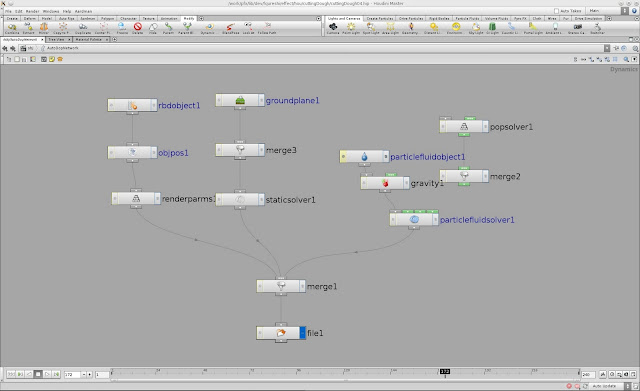
The AutoDop network – which is created from the shelf
The output mesh – i.e. the dough/jelly shape with dynamics applied
The ground plane
Lights:
Lights and shaders live here
Dynamics – The AutoDop network
From left to right:
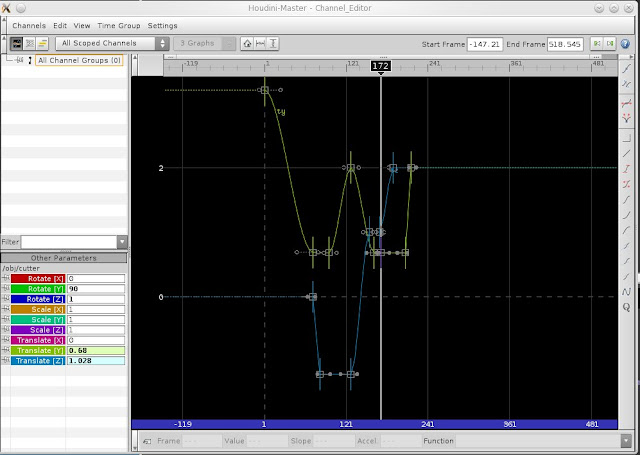
left branch – : the cutter which needs two nodes to make it cut through the jelly
middle branch – the ground plane for the jelly to land/sit on
The right branch: the particle fluid feeds into the solver (settings below)
At the bottom a file node so we can cache it easily
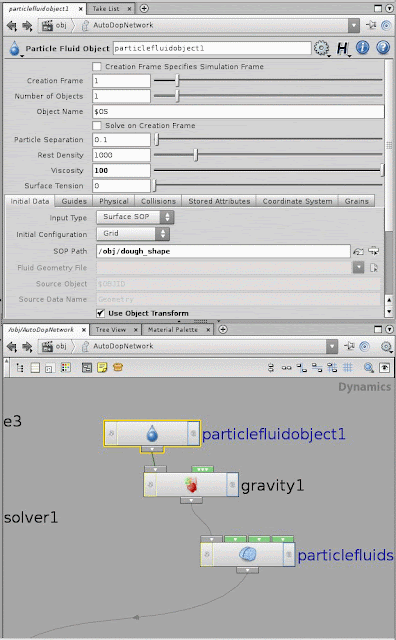
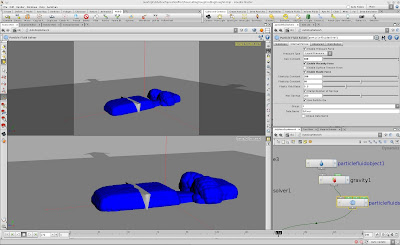
The particle fluid object nde
I ramped up the Rest Density to viscosity to really high numbers, this helps the Jelly sit in place and not collapse as it lands.
You can see in the SOP path that it’s pointed to the obj/dough_shape that we made at the start.
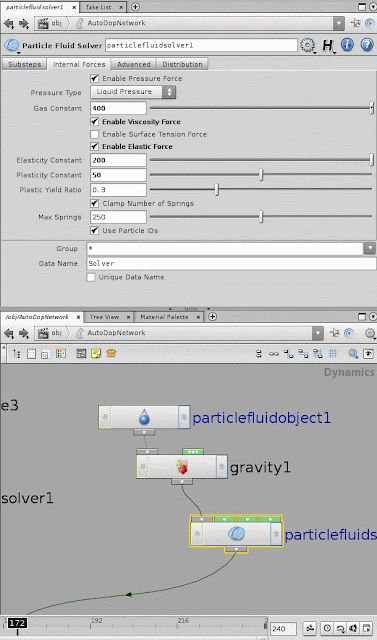
on the solver I found these useful elasticity and plasticity settings that keeps the fluid stuck together when the cutter comes into contact, watch the video closely and you’ll see that the fluid tries to adhere itself back together – you can see that in the image below how the particles stick together.
Tip: keep the gas constant set at 400, changing this too much causes unpredictable results – the Houdini docs recommend a value of 400, so best not to stray too far from that.
Animation
This is very quick – the only piece of animation was on the cutter which I used to cut the jelly. The sim will respond to any kind of animation that you can throw on the cutter.
Shading
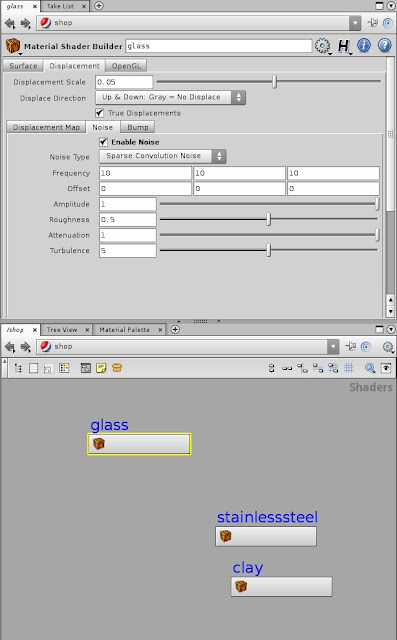
I initially tried a clay shader as I was trying to to make dough, I wasn’t overly pleased with the results so I switched it to a glass shader with a tinge of red – hence the jelly look.
under the displacement tab I added ramp (a simple red to green) and a small amount of displacement. You can see this result at the start of the video where the playblast is in the top corner.
In the noise tab I checked on the ‘Do Noise’ button, I bumped up the frequency and turbulence to create that nice texture on the jelly.
The lighting came out really nicely casting a red shadow with all the noise coming through on the ground plane. I think it took about two to three minutes to render each frame – then again I had the render farm to myself so it was really quick. Hope you like it.



Leave a Reply